


Creating a New Project
- Select More then Projects
- Select Manage
- Select Create New
a. Type Name
b. Type Description (optional)
c. Add: layout job and/or scan job
(if enabled)
 - Tap Open
a. Takes you to the map
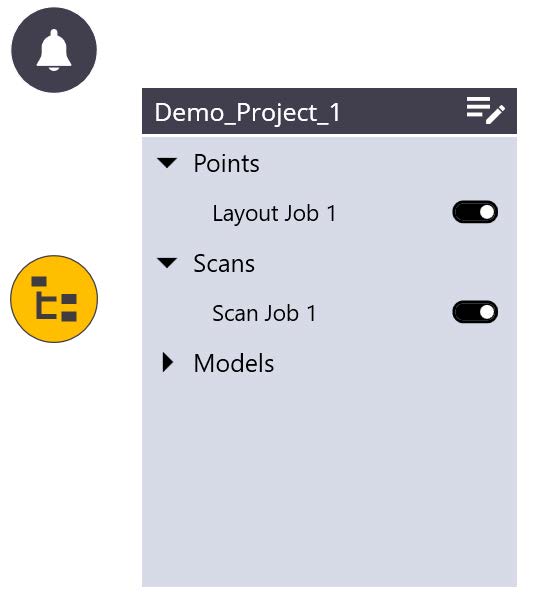
Note: Go to the ‘Tree’ button to see file structure.

Steps to create a TFLX file
- Use the Create tools in FieldLink to create points
- Convert an existing TFL file to TFLX
- Import a CSV or TXT file


Converting Existing TFL Files
- Select More, then Projects
- Select Convert
- Navigate to and select the desired TFL file and select it
- Select Convert
- A TFLX project is created and opened

Importing Files
- Tap the More icon
- Select Projects and then Import
- Navigate to and select the desired file
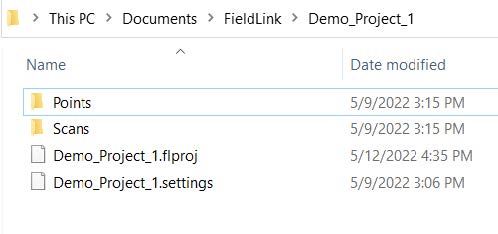
- Note that the File Explorer structure is different from previous versions of FieldLink.
Projects have their own folder within the FieldLink folder.
5. Tap Import ![]()
Steps to Import a Model or PDF into a Project
- Tap the More icon
- Select Projects and then Import
- Navigate to file location
- Tap Import
Alternative workflow
- Tap the More icon
- Select Projects and then Manage
- Under the Current Project, tap the Edit icon:

- Tap the Import icon under the Models section:

- Follow steps above for regular workflow
- Tap Apply

Exporting Data
- Open your project
- Select the points on the map that you wish to export
- Select More then Projects
- Tap Export
- Select the File Type and Export Point Location
- Tap Export

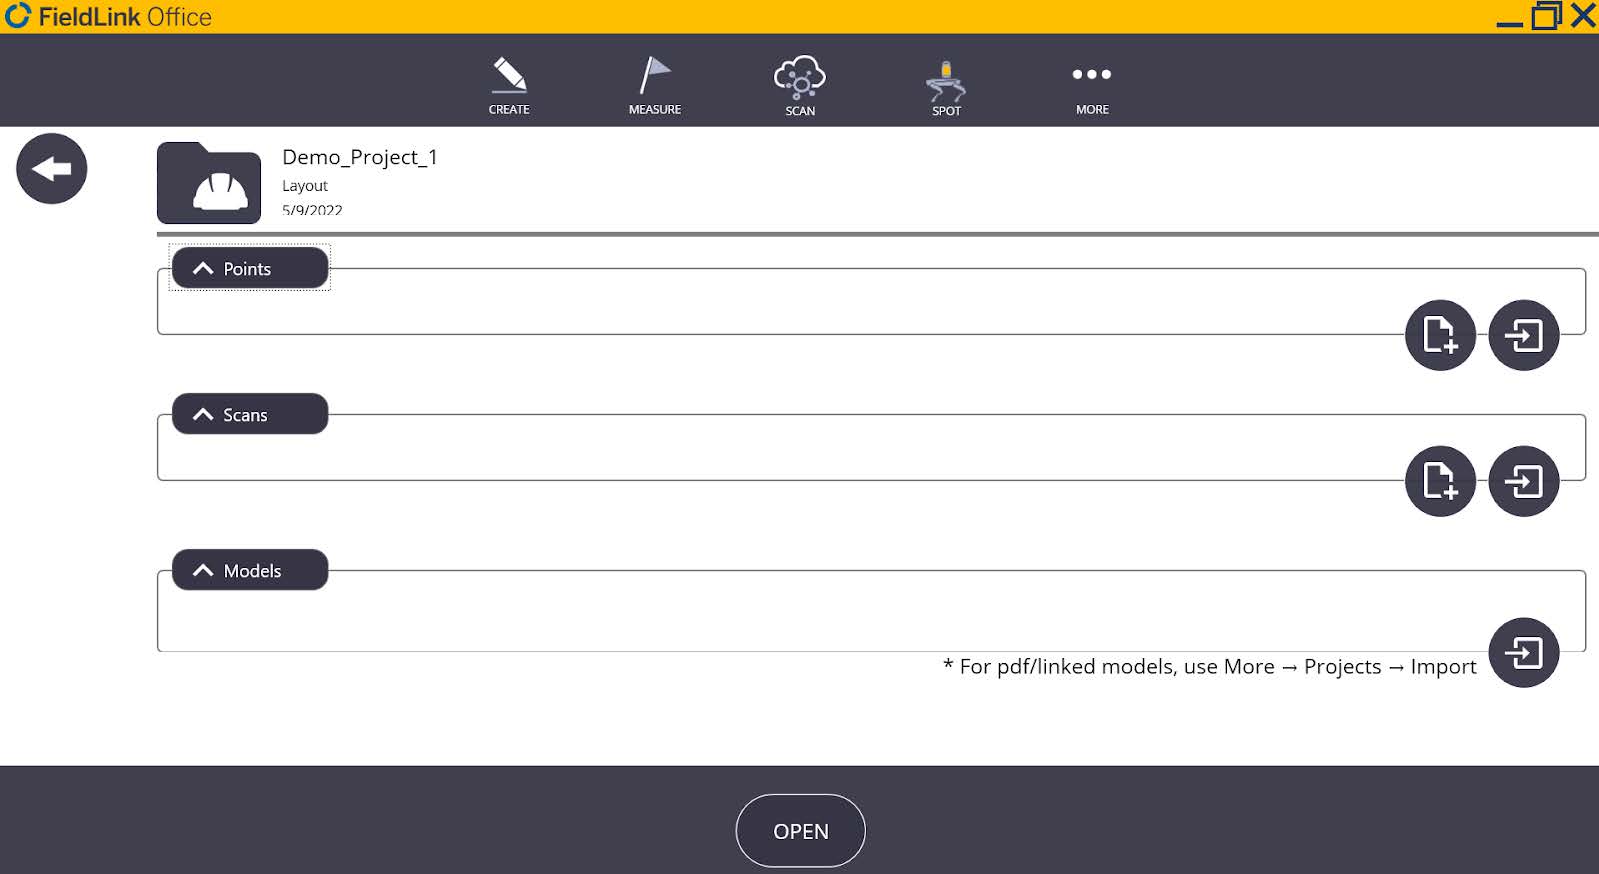
Managing a Project
- Select More then Projects
- Select Manage
- Select a project and press Open

- Create or Add point, scan, and model files
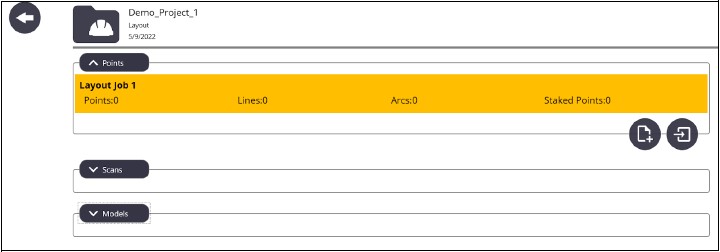
- To Create or Import a points file select the appropriate icon:

- The created points file will be a .tflx and can be found in the project’s Points folder (see Importing Files Section)
- Once files are added, select Open
- Points, scans, and models can be accessed using the tree button on the left side of the screen